Discover Vectary Business solutions for furniture companies
Get a quick guided product tour. Your questions - answered.


The standing desk configurator can be used during the prototyping phase (embed to Figjam or Miro) or as digital marketing content (embed into a website). When connected with an API, the configurator can also function as a pricing calculator and can be seamlessly integrated into a shopping cart workflow.
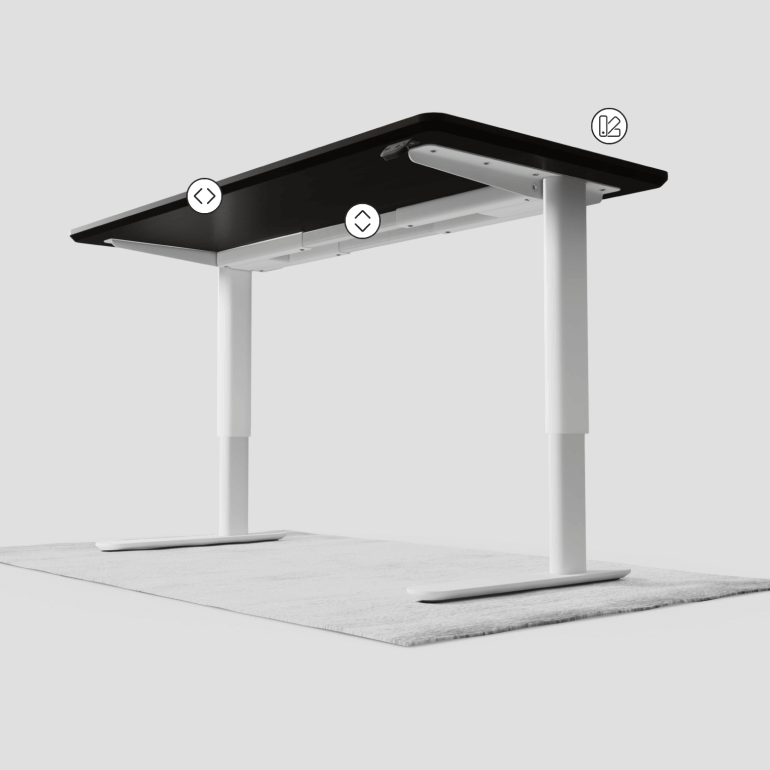
This configurator should represent the digital twin of a standing desk with three interactive components to explain the product functionality. The interactions should show:
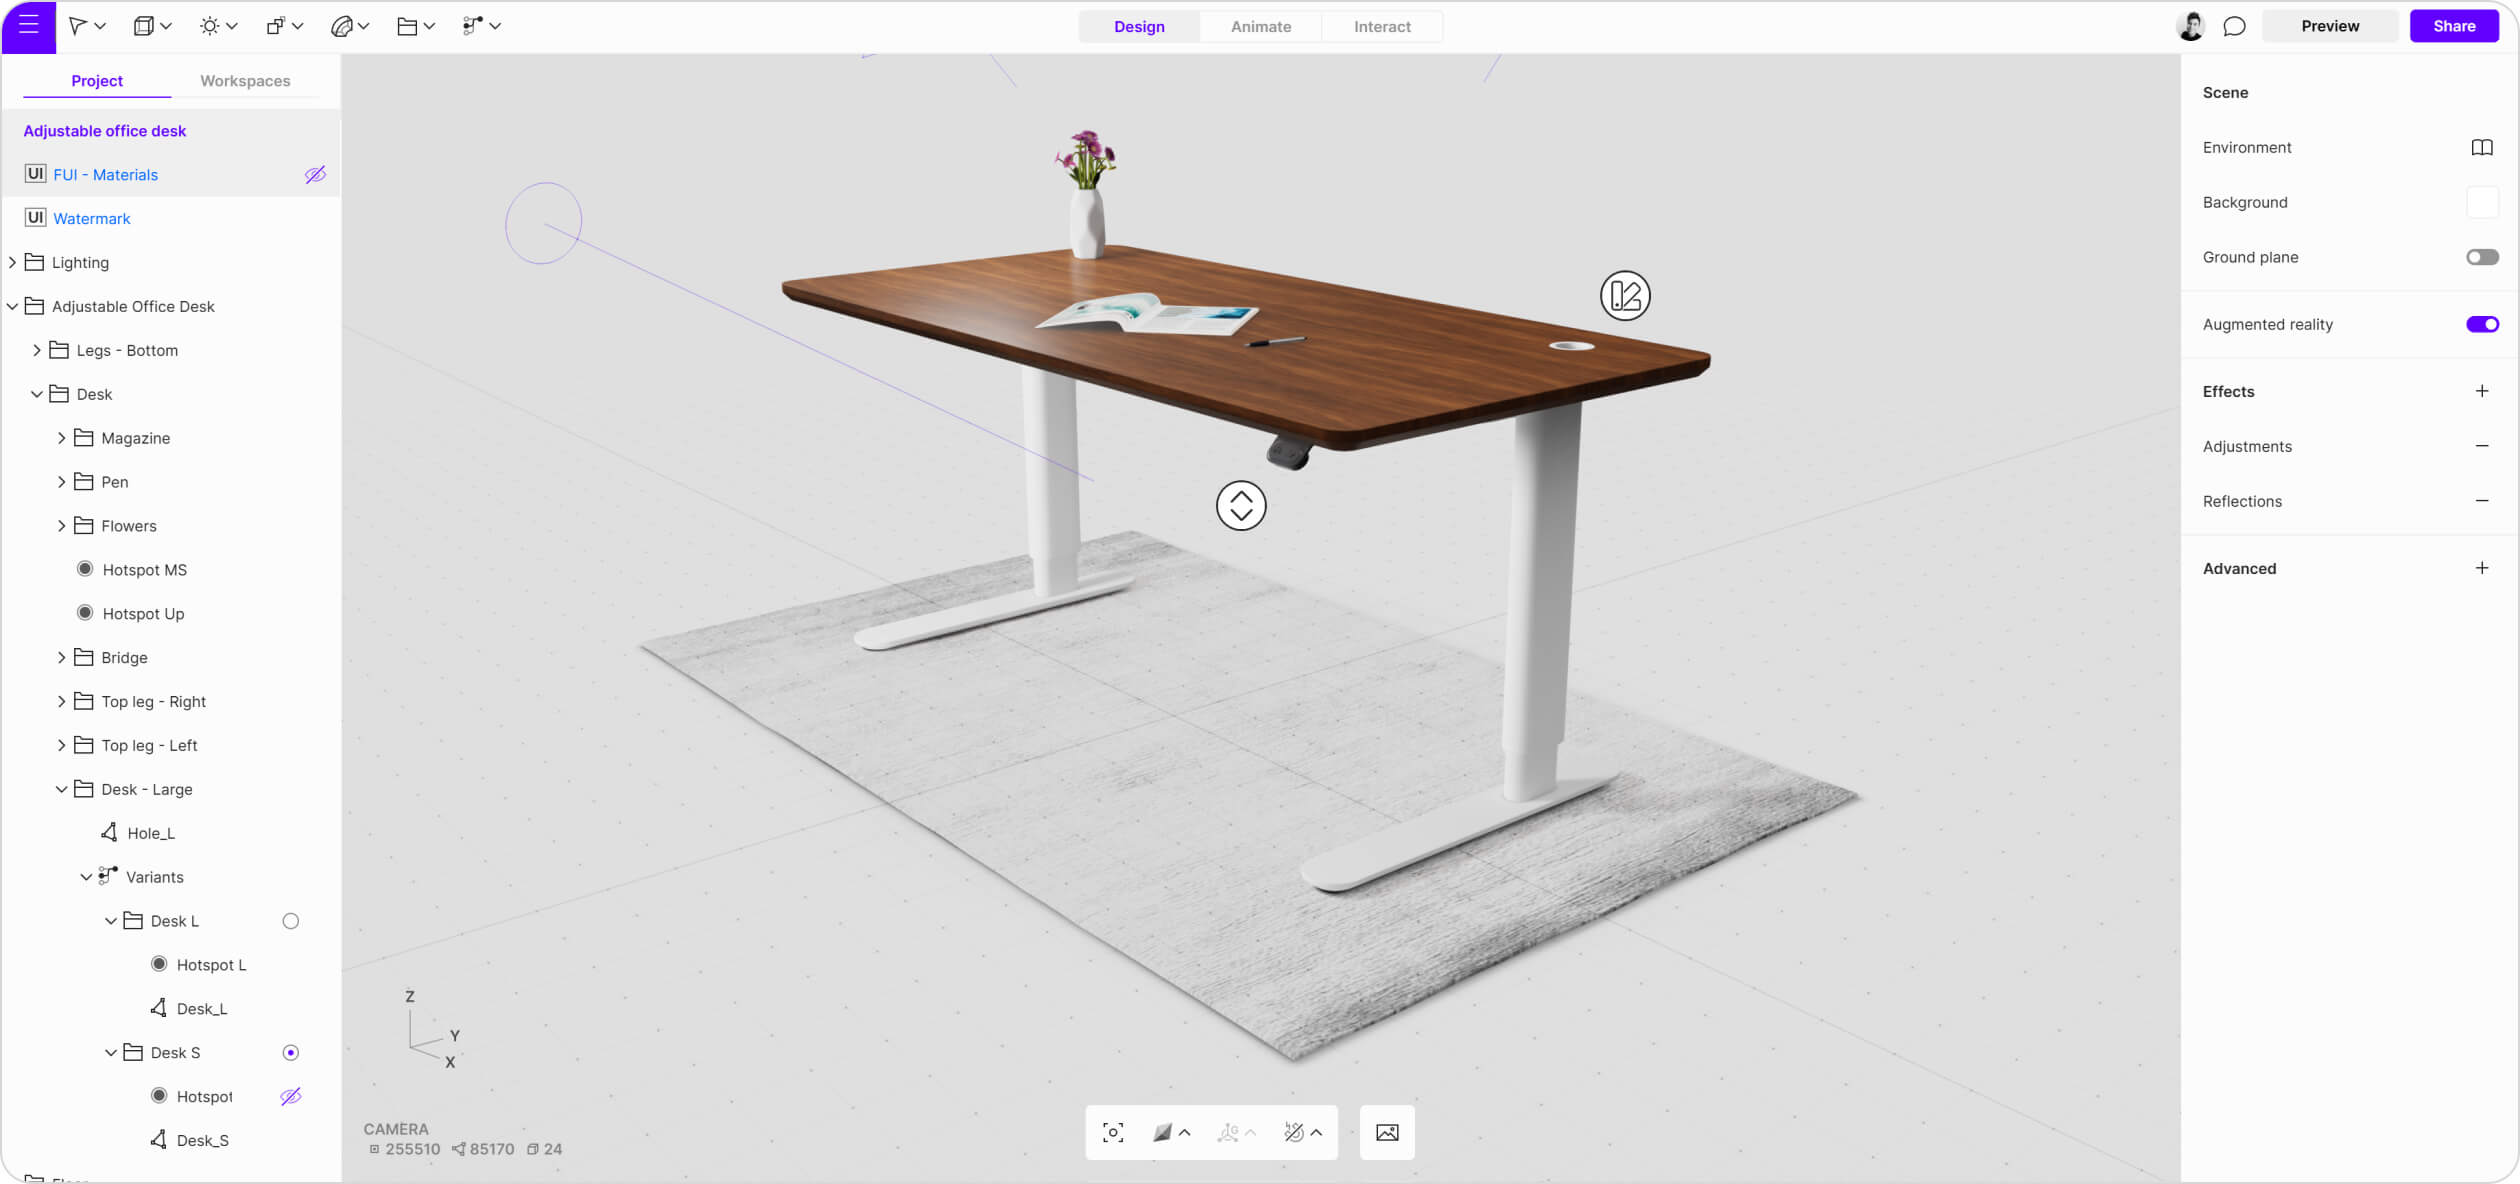
The final variation should also be previewed in Augmented Reality (AR) to view it in a real physical location.
The desk was modeled in CAD software Plasticity using NURBS, then exported as .step file and imported into Vectary Studio. Imported CAD geometry was adjusted to meet lower number of polygons and baked into mesh geometry. Table top was UV unwrapped in Substance Painter where its textures were also made up.
Every interaction in this scene is being controlled and triggered by 3 hotspots.
1. Material switcher
Trigger the visibility of Floating UI by clicking on the hotspot. This interaction will open FUI, where you see the name and color swatch of that particular material. In this case, FUI consists of 3 images only, so the text was not made in the FUI itself but imported all as one image. It's a great tip when you want to speed up the process and skip playing around with the layout in Floating UI itself. Once you click on one of these images another interaction - Materials, is being triggered. Here you can select any amount of objects and specify which material should become active. Since this configurator has two different tabletop sizes, you need to change materials for both of them.
2. Movement
The movement is controlled by hotspots that trigger ‘Transformation’ up or downg along the Z axis.
Tip: Create one group with all objects you want to affect by transformation. If you want hotspots to move with particular objects, include them in the group as well.
3. Size
The last hotspot controls the size of the tabletop, as it triggers either small or large size but also hotspot changes. That is because both hotspots are in the variant which creates an infinite loop. Click on the large hotspot to trigger the large table top and small hotspot. When you click on a small hot spot it's vice versa.
Tip: Each tabletop has a separately baked lightmap, ensuring shadows remain in the correct location during size changes.
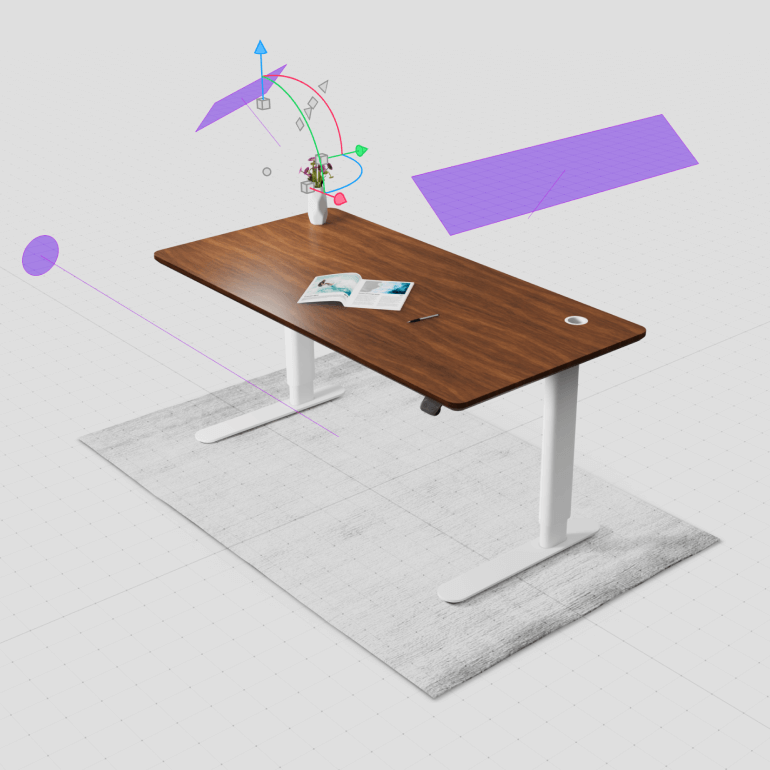
The lighting setup includes three lights - two rectangular and one directional - along with an HDRi environment. The objective was to illuminate the top area to create a pleasing reflection on the table surface, while also achieving contrasting edges from other angles. The directional light evenly disperses light across the scene, allowing full control over its direction via a pivot point. Rectangular lights were utilized for smaller areas on the table.
A tip: After baking, disabling the shadow cast by each light can improve performance.
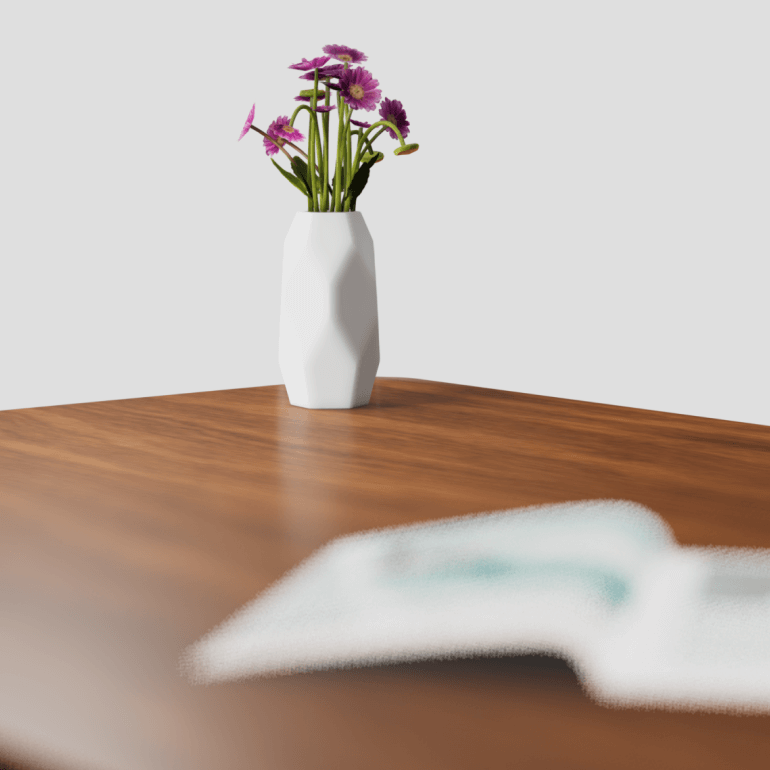
In terms of materials, the aim was to achieve a neutral studio-like scene with an infinite background, soft shadows, and wood as the main focal point. The legs feature a simple non-metallic material with a white color on top, while the tabletop employs a single unwrapped texture. Additional material types were created by duplicating this base material and adjusting hue, contrast, and brightness settings. This approach significantly reduces file size and loading time when sharing the file.
Once satisfied with the scene's appearance and lighting, start the baking process. Baking enhances the scene's realism by adding small shadows and ambient occlusion.
A tip: Bake at a higher resolution and then downscale. For instance, bake at 2K resolution and then set the final resolution to 1K. Don't forget to enable denoising. Before baking, preview the scene with Lightmap preview mode and pay attention to moving elements like the legs to prevent undesirable shadows.
The final variation should also be previewed in Augmented Reality (AR) to view it in a real physical location. It's important to work with proper dimensions, as the model will be translated into augmented reality at a 1:1 scale. AR settings allow you to enable or disable scaling once you are previewing the file. Currently, the only way to animate your scene in AR is via animations. The first animation in the Animation mode will be the one looped and showcased in AR. In this example, we looped the movement of the desk to go up and down.
This premium furniture manufacturer used the Vectary platform to build an immersive configurator for their website. It was all done by a single person - their product designer - who had no previous experience working with Vectary.
