Tips for branding with stickers
Make your product, signage and messaging stand out.
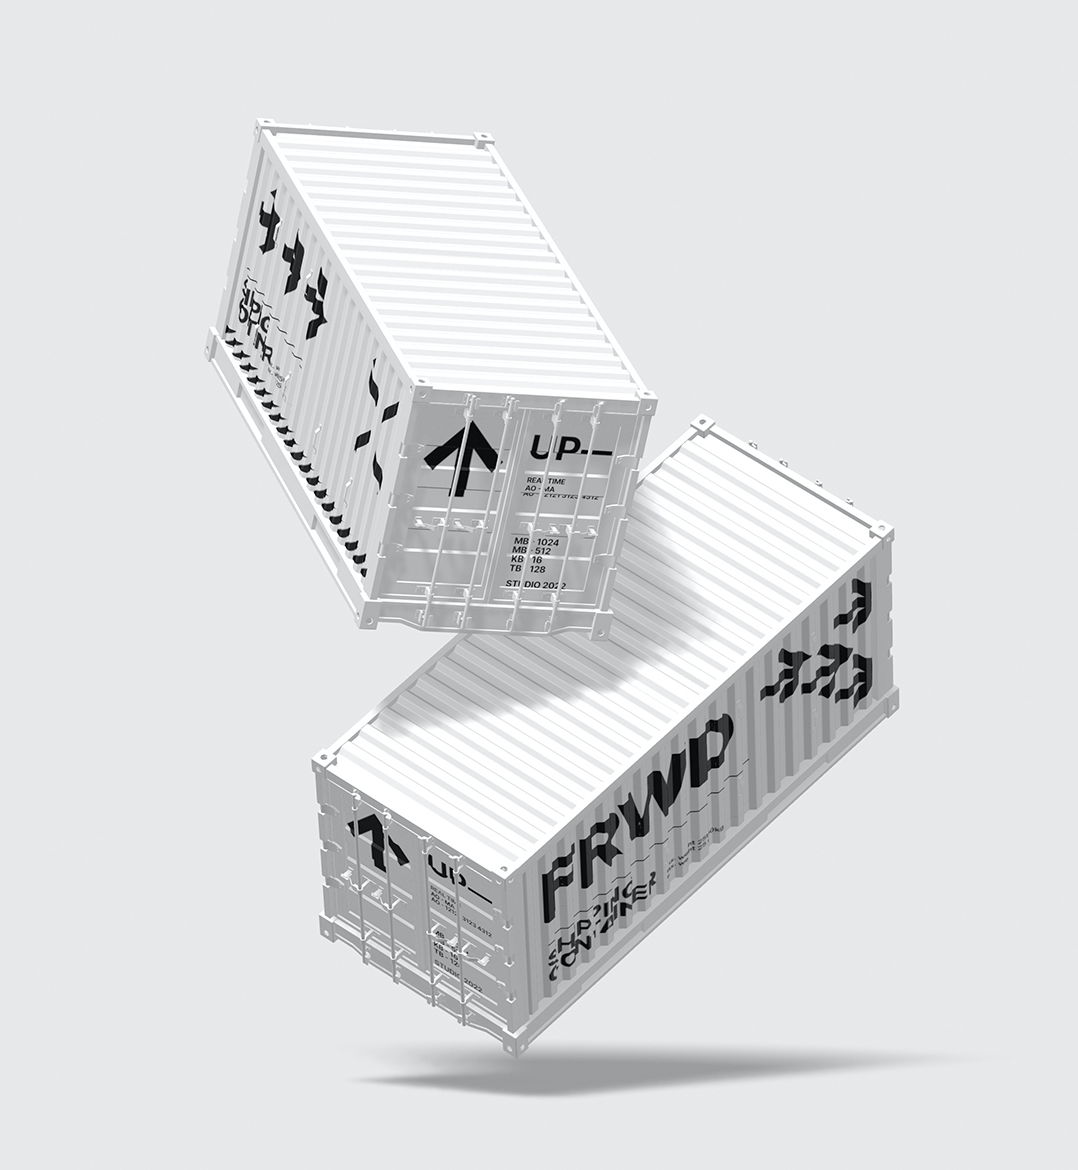
Place logos, patterns, decals, or lotties on your 3d models with a simple drag and drop and without unwrapping. Fast, easy, and useful for creating branded product mockups, marketing materials, or even for industrial design.
Import any 2D graphic to create a sticker
The process is even easier than in real life as it takes only a second. Simply drag and drop an image onto a 3D object, and it will spread over its surface, repeating its geometry. It is just as easy to detach or move the image - it works like a magnet.
You can import PNG, JPG, SVG, Lottie, and GIF. It is also possible to import a frame directly from Figma.
Importing images into Vectary is very straightforward. You don’t even have to upload an image from your computer. You can simply copy an image from the web to the clipboard and paste it into the scene.
Use even on uneven surfaces
Stickers and decals work really well even with complex geometries or uneven surfaces. The edges of the 2D graphics wrap around quite easily.
Enhance the quality of your stickers
Adding details to any labels will improve the quality of the overall design. Using different texture maps in different material settings allows you to achieve interesting effects.
- Color map: to define the label's colors.
- Roughness map: to define which parts of the label are scattering light and which are not.
- Metallic map: to define the metallic parts of the label.
- Normal map: to add surface details such as bumps and grooves.
Create stickers with transparent backgrounds
Transparent stickers come in handy, especially when working with glass and plastic materials. Use PNG images with a transparent background as stickers on your mockups. Add all those important details to the package design such as info about weight, product copy, logos, and certifications Here are the 4 quick steps to get the effect.
- Import the sticker - Drag and drop the .png sticker image with a transparent background onto the canvas or paste a Figma frame link directly onto the scene. Drag the gizmo pivot onto the object, and it will automatically stick to it. Change the orientation and scale using the gizmo. The color, emission, and opacity maps apply automatically after importing.
- Replace textures - Replace color and emission maps with solid color options but keep the opacity map, as it makes the object partially transparent. White parts of the map represent sections where texture is transparent.
- Adjust Color - When only an opacity map is applied, it is possible to change the color according to your preference.
- Adjust settings - Use the sliders to increase or decrease different parameters. In advanced material settings, you can experiment with settings like ‘thin film’ to achieve interesting effects.
Stickers can be on a transparent background and layered like in real life. Here is how:
Test your branding using mockups
Test your logo or 2D graphic idea on various 3D mockups. You can paste your frame directly from Figma and use the free 3D mockup assets in the Vectary Elements library for a quick overview.
Try it out and see how easy it is to handle. Use it in your next proposal, presentation or mockup session.